How To Connect Solar Panel To Normal Inverter
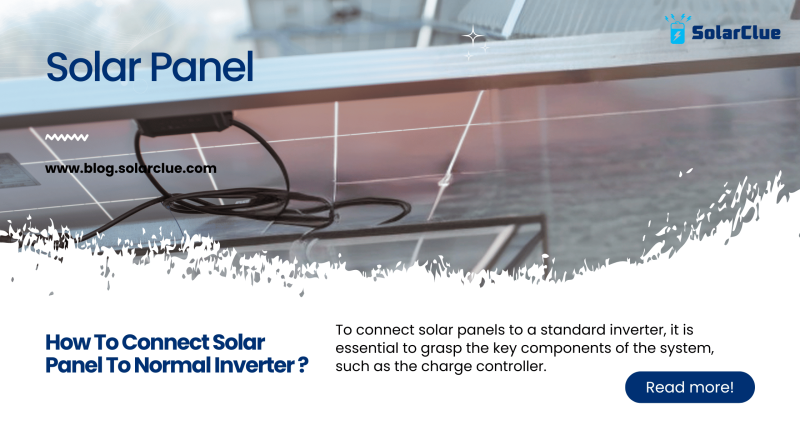
Connecting solar panels to a normal inverter involves understanding the critical components of the system, including the charge controller, solar panels, batteries, and the inverter itself. This blog provides detailed steps, safety precautions, and tips for optimizing system performance.
Table of Contents
- 1 Understanding the Role of a Charge Controller in Solar Systems
- 2 Wiring Diagrams and Connection Procedures
- 2.1 Equipment Needed
- 2.2 Step-by-Step Connection Procedure
- 2.3 Safety Precautions When Working with Electricity
- 2.4 Optimizing System Performance for Maximum Energy Output
- 2.5 Troubleshooting Common Connection Problems
- 2.6 Issue 1: No Power Output
- 2.7 Problem 2: Low Power Output
- 2.8 Disadvantage 3: Overheating Components
- 2.9 Limitations of Using a Normal Inverter with Solar Panels
- 2.10 The Benefits of Upgrading to a Solar Inverter
Understanding the Role of a Charge Controller in Solar Systems
A charge controller is a crucial component in a solar power system. It regulates the voltage and current coming from the solar panels to the batteries, ensuring the batteries are charged efficiently and preventing overcharging, which can damage the batteries.
Choosing the Right Charge Controller for Your Setup
There are two main types of charge controllers: Pulse Width Modulation (PWM) and Maximum Power Point Tracking (MPPT).
- PWM Charge Controllers:
- Cost-effective
- Suitable for smaller systems
- Less efficient compared to MPPT controllers
- MPPT Charge Controllers:
- More expensive
- Suitable for larger systems
- Higher efficiency, especially in varying weather conditions
Wiring Diagrams and Connection Procedures
Equipment Needed
- Solar panels
- Charge controller
- Batteries (if using a battery-based system)
- Normal inverter
- Wiring cables
- Circuit breakers
- Safety gear (gloves, goggles)
Step-by-Step Connection Procedure
1. Safety First:
Wear appropriate safety gear.
Ensure all equipment is turned off before starting the installation.
2. Install the Solar Panels:
Mount the solar panels in a location with maximum sunlight exposure.
Connect the panels in series or parallel depending on your system’s voltage and current requirements.
3. Connect Solar Panels to Charge Controller:
Use appropriate cables to connect the positive terminal of the solar panels to the positive input of the charge controller.
Connect the negative terminal of the solar panels to the negative input of the charge controller.
4. Connect Charge Controller to Batteries:
Connect the positive output of the charge controller to the positive terminal of the battery.
Connect the negative output of the charge controller to the negative terminal of the battery.
5. Connect Batteries to Inverter:
Connect the positive terminal of the battery bank to the positive input of the inverter.
Connect the negative terminal of the battery bank to the negative input of the inverter.
6. Turn On the System:
Double-check all connections.
Turn on the charge controller, then the inverter, and finally the solar panels.
PWM vs. MPPT Charge Controllers
| Feature | PWM Charge Controller | MPPT Charge Controller |
|---|---|---|
| Cost | Lower | Higher |
| Efficiency | Lower | Higher |
| Suitability | Small systems | Large systems |
| Performance in Low Light | Lower | Higher |
| Complexity | Simple | Complex |
| Heat Dissipation | Less efficient | More efficient |
| Maximum Power Extraction | Less effective | More effective |
Safety Precautions When Working with Electricity
1. Wear Safety Gear: Always wear gloves and safety glasses.
2. Avoid Wet Conditions: Ensure the area is dry to prevent electrical shocks.
3. Turn Off Power: Ensure all components are turned off before making any connections.
4. Use Proper Tools: Use insulated tools to prevent accidental shorts or shocks.
Optimizing System Performance for Maximum Energy Output
1. Panel Placement: Install panels at the optimal angle and orientation for maximum sunlight exposure.
2. Regular Maintenance: Clean panels regularly and check for any obstructions.
3. Efficient Charge Controller: Use an MPPT charge controller for better efficiency.
4. Proper Wiring: Use the appropriate gauge wires to minimize power loss.
Troubleshooting Common Connection Problems
Issue 1: No Power Output
- Check Connections: Ensure all connections are secure.
- Test Components: Use a multimeter to check voltage at various points in the system.
Problem 2: Low Power Output
- Inspect Panels: Check for shading or dirt on panels.
- Check Wiring: Ensure there are no loose or damaged wires.
- Battery Health: Ensure batteries are in good condition and properly charged.
Disadvantage 3: Overheating Components
- Adequate Ventilation: Ensure proper ventilation for all components.
- Correct Sizing: Make sure components are properly sized for the system’s power output.
Limitations of Using a Normal Inverter with Solar Panels
- Efficiency: Normal inverters may not be as efficient as solar-specific inverters.
- Battery Dependency: Typically requires a battery bank for storage.
- Compatibility: May not have the advanced features of solar inverters, such as MPPT.
The Benefits of Upgrading to a Solar Inverter
- Higher Efficiency: Solar inverters are designed to maximize energy conversion.
- Integrated MPPT: Many solar inverters come with built-in MPPT controllers.
- Grid-Tie Capability: Allows for connecting to the grid and selling excess power.
- Monitoring Features: Advanced monitoring and diagnostics capabilities.
Conclusion
Connecting solar panels to a normal inverter requires careful planning and understanding of the components involved. The charge controller plays a vital role in regulating the system, and choosing the right one is crucial for optimal performance. By following proper connection procedures and safety precautions, you can ensure a safe and efficient solar power system.
Here at SolarClue®, we offer a smart, practical, and “beautiful” solution. You will be answered for all the questions related to Solar.
We provide all kinds of brands that are the Best Solar panels in India.
If you are the one who is planning for the solar power system. Don’t hesitate to contact our team!
Looking forward to empowering you with solar energy, just like hundreds of our other clients!
FAQs
1. Can I use a normal inverter with solar panels without batteries?
Yes, but a battery-less system typically requires a grid-tied solar inverter.
2. What happens if I connect solar panels directly to an inverter?
It can damage the inverter and panels due to unregulated voltage and current.
3. Is it safe to install solar panels myself?
Yes, if you follow safety guidelines and have basic electrical knowledge.
4. How often should I check my solar power system?
Regularly, at least once a month, to ensure optimal performance.
5. What size charge controller do I need for my solar system?
It depends on the total current output of your solar panels and the voltage of your battery bank. Check the specifications and consult with a professional if needed.


