Step-by-Step Guide to Upgrading Your Inverter
1. Assess Your Current System
Before making any changes, take stock of your current setup. Here’s what you need to know:
- Current Inverter Specifications: Check the power rating and type of your existing inverter.
- Solar Panel Compatibility: Ensure your solar panels are compatible with the solar inverter you plan to install.
- Electrical System: Review your home’s electrical system to ensure it can handle the new inverter and the additional power from the solar panels.
2. Choose the Right Solar Inverter
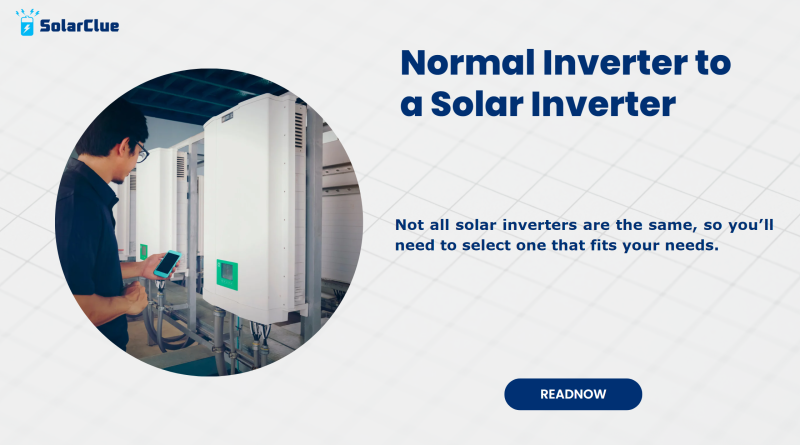
Not all solar inverters are the same, so you’ll need to select one that fits your needs. Consider the following factors:
- Power Rating: Ensure the inverter’s power rating matches or exceeds the total power output of your solar panels.
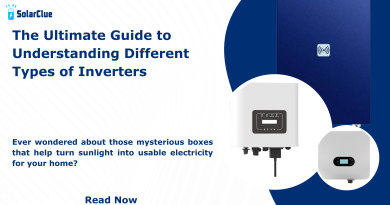
- Type of Inverter: Decide between a string inverter, microinverters, or a power optimizer system. Each has its own advantages:
- String Inverters: Connect multiple panels in series and are generally cost-effective.
- Microinverters: Installed on each panel, allowing for better performance if panels are shaded or have different orientations.
- Power Optimizers: Work with a string inverter to optimize the performance of each panel individually.
3. Remove the Old Inverter
If you’re replacing an existing inverter, follow these steps to safely remove it:
- Turn Off Power: Switch off all power sources to the inverter and disconnect any power sources.
- Disconnect Wiring: Carefully disconnect the wires from the old inverter. Make sure to label them if necessary, to avoid confusion during the installation of the new inverter.
- Remove the Inverter: Unscrew and remove the old inverter from its mounting position.
4. Install the Solar Inverter
Now it’s time to install your new solar inverter:
- Mount the Inverter: Securely mount the solar inverter in a suitable location. It should be in a cool, dry place and close to the solar panel array.
- Connect the Wiring: Connect the wiring from the solar panels to the inverter. If you’re unfamiliar with wiring, you may want to consult a professional to ensure everything is connected correctly and safely.
- Connect to the Electrical System: Wire the inverter to your home’s electrical system, making sure to follow all local electrical codes and regulations. Install circuit breakers to protect the system.
5. Configure and Test
Once the installation is complete, you’ll need to configure and test the inverter:
- Initial Setup: Follow the manufacturer’s instructions to configure the inverter settings. This may include setting parameters for voltage and current.
- System Check: Power on the system and check for any errors or warnings on the inverter’s display. Make sure everything is functioning as expected.
- Monitor Performance: Use the inverter’s monitoring system to track the performance of your solar panels and ensure they’re producing the expected amount of electricity.
Table: Normal Inverter vs. Solar Inverter Specifications
Here’s a simple comparison of key specifications to help you understand the differences:
| Feature |
Normal Inverter |
Solar Inverter |
| Purpose |
Converts DC to AC for general use |
Converts DC from solar panels to AC for home use |
| Efficiency |
Typically lower efficiency |
Higher efficiency, often with MPPT |
| Power Rating |
Varies widely, often lower |
Matches or exceeds solar panel output |
| Special Features |
Basic DC to AC conversion |
MPPT, grid compatibility, monitoring |
| Cost |
Generally less expensive |
Generally more expensive but with better features |
Common Challenges and Solutions
Switching to a solar inverter can sometimes come with its own set of challenges. Here are some common issues and how to address them:
- Compatibility Issues: Ensure that your solar panels and inverter are compatible. Check specifications and consult with a professional if needed.
- Installation Errors: Incorrect wiring or mounting can cause problems. If you’re unsure about the installation process, it’s best to hire a certified installer.
- Performance Issues: If you notice that your system isn’t performing as expected, check for any installation errors or system faults. Use the inverter’s diagnostic features to identify and resolve issues.
Maintenance Tips for Your Solar Inverter
To keep your solar inverter in good working condition:
- Regular Inspections: Check the inverter regularly for any signs of wear or damage.
- Keep It Clean: Ensure the area around the inverter is clean and free of debris.
- Monitor Performance: Use the inverter’s monitoring system to keep track of performance and address any issues promptly.
Conclusion
Upgrading from a normal inverter to a solar inverter can significantly enhance the efficiency and effectiveness of your solar power system. By following the steps outlined in this guide, you can ensure a smooth transition and start benefiting from the advantages of solar energy. Remember, while the process might seem complex at first, understanding the basics and having the right tools and knowledge can make it manageable.
If you have any doubts or questions about the process, don’t hesitate to seek help from a professional. Embracing solar power is a big step towards a more sustainable future, and with the right equipment and setup, you can enjoy the many benefits it has to offer. So, get ready to enjoy cleaner, greener energy for your home!


