How to Connect a Solar Panel to an Inverter
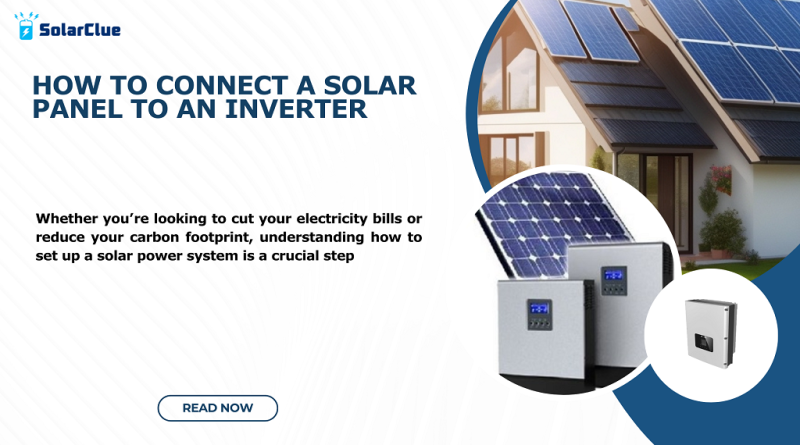
Connecting a solar panel to an inverter might sound like a high-tech job that only engineers can handle, but it’s actually quite manageable for most people. Whether you’re looking to cut your electricity bills or reduce your carbon footprint, understanding how to set up a solar power system is a crucial step. In this guide, we’ll break down the process into easy-to-follow steps and provide a clear explanation of what you need to know.
Table of Contents
- 1 What You’ll Need
What You’ll Need
Before we dive into the connection process, let’s make sure you have everything you need:
1.Solar Panels: These are the devices that capture sunlight and convert it into electricity.
2.Inverter: This component converts the direct current (DC) electricity generated by the solar panels into alternating current (AC) electricity, which is used by your home appliances.
3.Mounting Hardware: Used to securely attach the solar panels to your roof or another surface.
4.Cables and Connectors: To connect the solar panels to the inverter.
5.Circuit Breakers: For safety, to prevent overloads and short circuits.
Understanding the Basics
Before you connect anything, it’s important to understand what each component does:
- Solar Panels: They convert sunlight into DC electricity. The amount of electricity they produce depends on factors like sunlight intensity and the angle of the panels.
- Inverter: Solar panels generate DC electricity, but most home appliances run on AC electricity. The inverter changes DC into AC so your household devices can use the power.
- Mounting Hardware: Ensures that the panels are securely fixed in place, maximizing their exposure to sunlight.
Step-by-Step Guide to Connecting Solar Panels to an Inverter
1. Install the Solar Panels
First, you need to mount the solar panels in a location that gets plenty of sunlight. If you’re installing them on your roof, follow these steps:
- Positioning: Place the panels where they will receive the most sunlight, usually a south-facing roof.
- Mounting: Attach the mounting brackets to the roof or another surface. Ensure they are secure and level.
- Attach Panels: Once the brackets are in place, secure the solar panels onto the brackets.
2. Connect the Solar Panels to the Inverter
With the panels mounted, it’s time to connect them to the inverter. Here’s how to do it:
- Wire Preparation: Strip the ends of the wires coming from the solar panels. Make sure they’re clean and free from any damage.
- Connect Wires: Most solar panels have positive and negative wires. Connect the positive wire from the first panel to the positive input on the inverter, and do the same for the negative wires.
- Tip: Some systems use connectors like MC4 connectors. If your system does, make sure to align the connectors properly before snapping them together.
3. Set Up the Inverter
- Location: Place the inverter in a cool, dry location. It should be close to your solar panel array but not in direct sunlight or extreme temperatures.
- Mounting: Secure the inverter to a wall or another sturdy surface.
- Wiring: Connect the output of the inverter to your home’s electrical system. This usually involves wiring it into your circuit breaker panel.
4. Safety Check
Before turning everything on, make sure to double-check your connections and ensure everything is properly secured. Install circuit breakers as needed to protect your system from overloads.
5. Turn On the System
Once everything is in place and you’ve verified all connections, turn on the inverter. Most inverters have a display that will show you the current status of your solar power system.


