What are solar on-grid systems and how to install it?
Solar energy is becoming increasingly popular as people seek more sustainable and cost-effective ways to power their homes and businesses. Among the various solar energy systems available, on-grid systems are gaining attention due to their simplicity and ability to lower utility bills. In this blog post, we will delve into what on-grid systems are and provide a step-by-step guide on how to install them.
Table of Contents
- 1 Understanding On-Grid Systems
- 1.1 Installation Steps for On-Grid Systems
- 1.1.1 Step 1: Determine your solar energy requirements
- 1.1.2 Step 2: Select suitable solar panels
- 1.1.3 Step 3: Identify optimal installation location
- 1.1.4 Step 4: Install mounting systems
- 1.1.5 Step 5: Connect solar panels to the grid
- 1.1.6 Step 6: Install the net meter
- 1.1.7 Step 7: Seek professional assistance if needed
- 1.1 Installation Steps for On-Grid Systems
Understanding On-Grid Systems
On-grid systems, also known as grid-tied or grid-connected systems, are renewable energy setups that utilize solar panels to generate electricity directly from sunlight. Unlike off-grid systems that rely on batteries for storing excess energy, on-grid systems are directly connected to the local power grid. This connection allows excess energy generated by the solar panels to be fed back into the grid, resulting in the generation of credits or a reduced electricity bill.
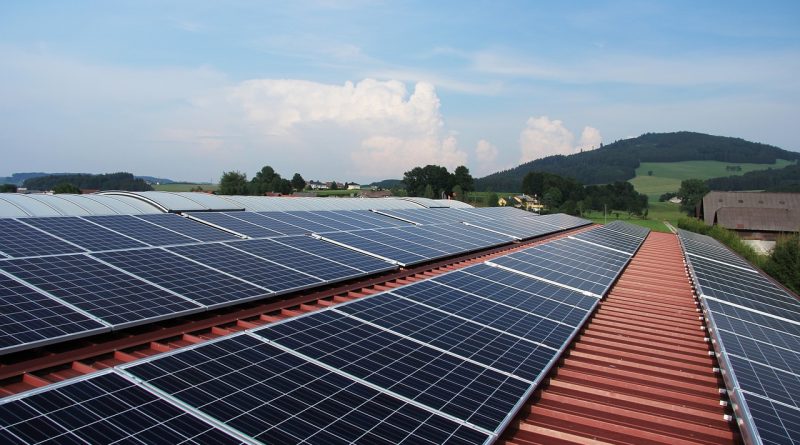
On-grid systems consist mainly of solar panels, an inverter, and a net meter. The solar panels, typically installed on rooftops, capture sunlight and convert it into electricity. The inverter then transforms the direct current (DC) produced by the solar panels into alternating current (AC), which is the standard electrical current used in homes and businesses. The net meter allows for the measurement of the electricity consumed from the grid and the electricity sent back to the grid.
Installation Steps for On-Grid Systems
Installing an on-grid solar system may seem like a complex task, but with the right guidance, it can be both straightforward and rewarding. Follow the step-by-step guide below to install your own on-grid system:
Step 1: Determine your solar energy requirements
Before diving into the installation process, it is crucial to evaluate your energy needs. Assess your monthly electricity consumption to determine the appropriate size of the solar system required. This analysis will help you calculate the number of solar panels and the power capacity needed to meet your energy requirements.
Step 2: Select suitable solar panels
Choose high-quality solar panels from reputable manufacturers to ensure their efficiency and durability. Consider factors such as performance, warranty, and compatibility with the local grid regulations. Seek advice from solar experts if you are unsure about the best choices for your specific location and energy needs.
Step 3: Identify optimal installation location
The efficiency of your on-grid system largely depends on the installation location. Look for an area with maximum sun exposure throughout the day, avoiding any obstructions like trees or tall buildings that may hinder the sunlight’s path. Rooftops with a south-facing orientation are often the ideal location for solar panel installation.
Step 4: Install mounting systems
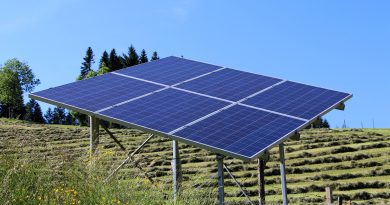
Secure the mounting systems onto the selected surface, whether it is a rooftop or ground level. Ensure that the mounting systems are securely fastened and aligned properly to support the weight of the solar panels. Follow the manufacturer’s instructions to guarantee a safe and efficient installation.
Step 5: Connect solar panels to the grid
Carefully wire the solar panels together and connect them to the inverter. The inverter converts the DC electricity generated by the panels into AC electricity suitable for use in your home or business. Follow the detailed wiring diagrams provided by the manufacturer to ensure proper connections and prevent potential electrical hazards.
Step 6: Install the net meter
Consult your local utility company to install the net meter, which measures the electricity exchange between your on-grid system and the power grid. This meter allows you to monitor your energy consumption and the amount of excess electricity you send back to the grid, gaining credit or reducing your utility bill accordingly.
Step 7: Seek professional assistance if needed
Though installing an on-grid solar system can be done by enthusiastic homeowners, it is always wise to seek assistance from professionals. Certified solar installers have the expertise and knowledge to ensure a safe and efficient installation, while providing valuable advice on permits, regulations, and maintenance.
Conclusion
Embark on a journey towards cost savings and environmental sustainability with on-grid solar systems. Mastering the components and installation process is key to unlocking the full potential of solar energy. This blog post outlines the essential steps, empowering you to confidently install an on-grid system. Join the movement towards a greener future and enjoy the financial benefits it brings. Don’t forget to consult experts when needed and prioritize safety throughout the installation process. Take the first step now and embrace a brighter and more sustainable future with solar energy. SolarClue® is here to guide you on this transformative journey.
Frequently Asked Questions
A solar on-grid system is connected to the utility grid, allowing excess energy to be fed back, reducing reliance on the grid.
Follow our step-by-step guide for a seamless installation process, ensuring optimal performance.
Yes, many homeowners can undertake the installation as long as they follow safety guidelines and local regulations.
On-grid systems offer cost savings, grid support, and potential incentives, making them a popular choice for solar enthusiasts.
By generating clean energy and reducing dependence on traditional power sources, on-grid solar systems contribute to a greener, more sustainable future.
Depending on your location, there may be tax credits or other incentives for installing on-grid solar systems. Check local regulations for details.
Regular inspection, cleaning, and monitoring are essential for optimal performance. Our guide covers these maintenance aspects in detail.
No, on-grid systems are designed to shut down during power outages for safety reasons. Battery backup solutions can be considered for uninterrupted power supply.
Installation time varies but typically ranges from a few days to a couple of weeks, depending on system size and complexity.
Yes, check with local authorities for necessary permits and compliance with regulations before starting the installation process.


