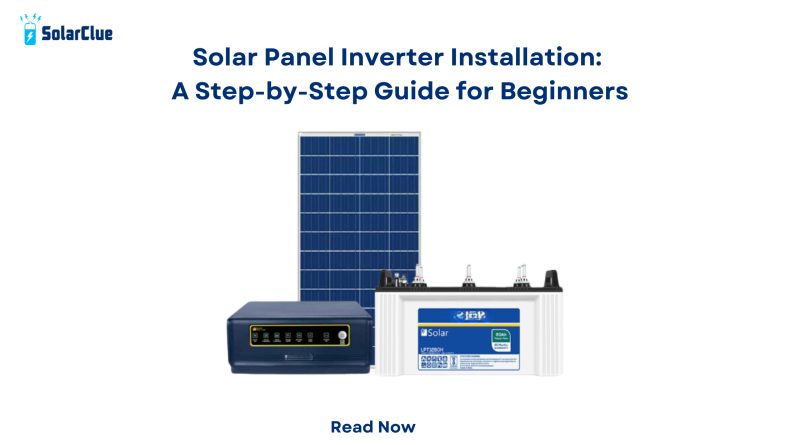
Solar Panel Inverter Installation: A Step-by-Step Guide for Beginners
Have you ever Decided to go for Solar ? That ‘s Fantastic! Now, one of the key components you’ll need to understand and install is the solar panel inverter. Don’t worry if you’re new to this—today, we’re going to walk you through a step-by-step guide on how to install a solar panel inverter. By the end of this guide, you’ll feel confident and ready to harness the sun’s energy to power your life sustainably.
Table of Contents
Understanding Solar Panel Inverters :
Before we dive into the installation process, let’s quickly go over what a solar panel inverter does. In simple terms, it’s the brain of your solar power system. Solar panels generate direct current (DC) electricity, but your home appliances run on alternating current (AC). The inverter’s job is to convert that DC power into usable AC power for your home.
let’s get into the Core of installing your solar panel inverter.
Step 1: Choose the Right Inverter
First things first, you need to select the appropriate inverter for your solar panel system. There are three main types:
1.String inverters: These are the most common and cost-effective option for residential use.
2.Microinverters: Installed on each individual panel, they’re great for complex roof layouts or partially shaded areas.
3.Power optimizers: A hybrid option that combines features of string inverters and microinverters.
Consider factors like your budget, roof layout, and energy needs when making your choice.
Step 2: Gather Your Tools and Materials
Before you start the installation, make sure you have all the necessary tools and materials:
– The inverter itself
– Mounting bracket (usually comes with the inverter)
– Screws and anchors
– Drill and drill bits
– Screwdriver
– Wire strippers
– Electrical tape
– Multimeter
– Safety equipment (gloves, safety glasses)
Step 3: Choose the Installation Location
Picking the right spot for your inverter is crucial. Here are some tips:
– Install it in a cool, dry place away from direct sunlight
– Ensure good ventilation to prevent overheating
– Keep it easily accessible for maintenance
– Mount it close to your main electrical panel to minimize wire runs
– Follow the manufacturer’s guidelines for clearance around the unit
Common locations include garages, basements, or utility rooms.
Step 4: Mount the Inverter
Now it’s time to get your hands dirty:
- Use the mounting bracket as a template to mark the drill holes on the wall
- Drill pilot holes and insert anchors if needed
- Secure the mounting bracket to the wall with screws
- Carefully lift the inverter and attach it to the mounting bracket
- Double-check that it’s level and securely fastened
Step 5: Connect the DC Input
This step involves connecting your solar panels to the inverter:
- Locate the DC disconnect box (usually pre-installed on the inverter)
- Run the positive and negative DC cables from your solar array to the inverter
- Strip the ends of the wires and connect them to the appropriate terminals in the DC disconnect box
- Ensure all connections are tight and secure
Step 6: Connect the AC Output
Now you’ll connect the inverter to your home’s electrical system:
- Run AC cables from the inverter to your main electrical panel
- Install a dedicated circuit breaker in your main panel for the solar system
- Connect the AC output wires from the inverter to this new circuit breaker
- Make sure all connections are properly tightened
Step 7: Ground the System
Proper grounding is essential for safety:
- Connect a grounding wire to the designated grounding terminal on the inverter
- Run this wire to your home’s grounding system or a grounding rod
- Ensure all metallic parts of the solar system are properly grounded
Step 8: Install Monitoring System (Optional)
Many modern inverters come with built-in monitoring capabilities:
- Connect the inverter to your home’s internet network (usually via Wi-Fi or Ethernet)
- Follow the manufacturer’s instructions to set up the monitoring system
- This will allow you to track your system’s performance and energy production
Step 9: Final Checks and Power-Up
Before you flip the switch:
- Double-check all connections
- Ensure all wires are properly secured and not exposed
- Verify that the inverter is mounted securely
- Make sure all safety equipment is in place
Once you’re confident everything is in order, it’s time to power up your system:
- Turn on the DC disconnect switch
- Switch on the AC circuit breaker in your main panel
- Power on the inverter according to the manufacturer’s instructions
Step 10: Test and Monitor
After powering up:
- Check the inverter’s display for any error messages
- Use a multimeter to verify the AC output voltage
- Monitor the system for a few days to ensure it’s functioning properly
Right Now, You’ve successfully installed your solar panel inverter. Remember, while this guide gives you a general idea of the process, it’s always best to consult with a professional electrician or solar installer if you’re unsure about any step. Safety should always be your top priority when dealing with electrical systems.
Conclusion :
Remember, while installing a solar panel inverter can seem Difficult at first, with the right information and a methodical approach, it becomes a manageable task. If you ever have questions or encounter challenges along the way, don’t hesitate to reach out to a qualified solar professional for assistance.
Here’s to a brighter, more sustainable future powered by solar energy. Enjoy the benefits of clean electricity and the satisfaction of reducing your carbon footprint. Cheers to your solar journey ahead!
Visit SolarClue® to see the best Solar Inverters. SolarClue® actively sells solar energy products at discounts of up to 50% on its online marketplace.


