
How to Register as a Seller: A Step-by-Step Guide
Thanks to E-commerce that brings many business opportunities in India. In this digital era, many working professionals are now choosing to leave their jobs and earn money by becoming online sellers. Now you can become an online seller on Seller.SolarClue.com and start your business by choosing the solar products you decide to sell. When you’re planning to sell your solar products across India, choose the Seller.SolarClue.com marketplace as a seller destination.
Now a question comes, how to register as a seller on the SolarClue Seller portal? Here’s a guide to help you get started step-by-step.
Table of Contents
Step 1.
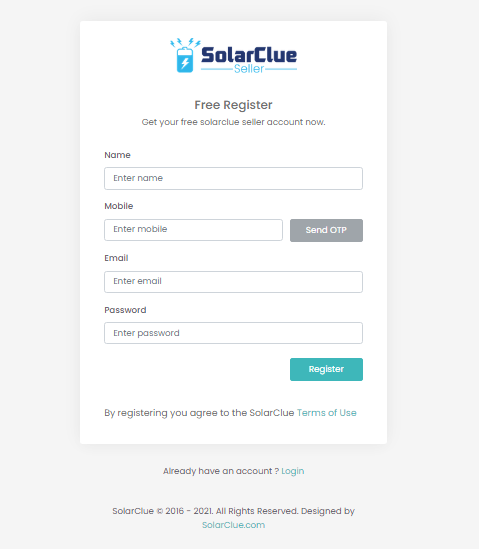
Go to seller.solarclue.com. Click on the button “REGISTER” and fill in all the required details such as Name, Mobile Number, Email address, and Password. After this, click on the button “Send OTP”, enter it, and lastly click on the button “Register”.
Step 2.
Once you fill the registration form and complete that, you will be landed on the next page, given below.
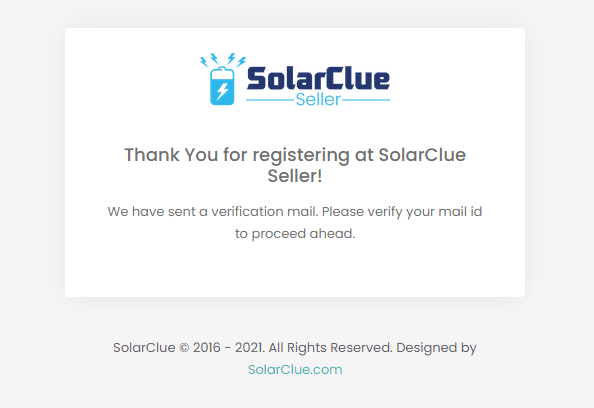
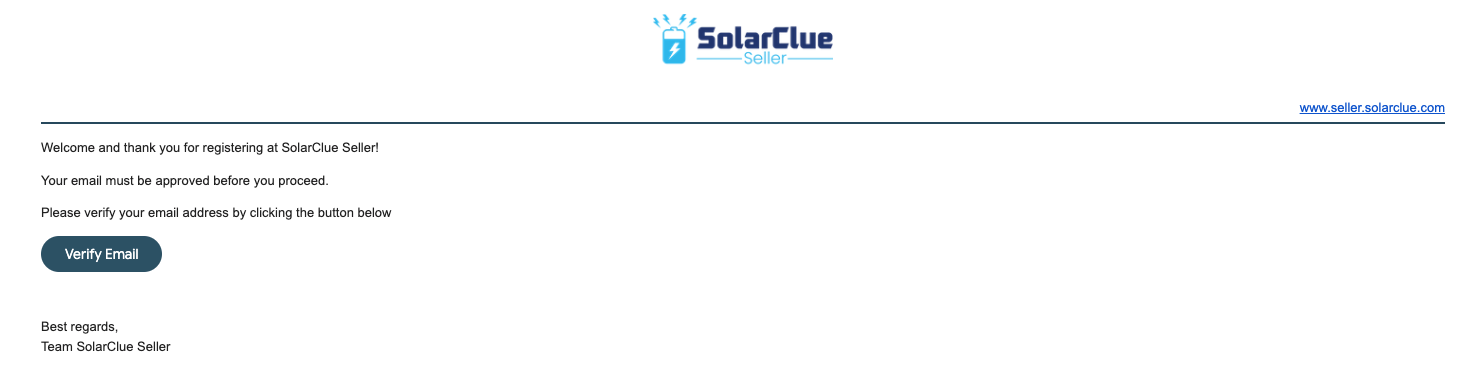
And, you will be receiving an email similar to the one given below, which reflects you have successfully registered yourself with Seller.SolarClue. Open that e-mail, and there, you will find a button “Verify E-mail” and click on that.
Step 3.
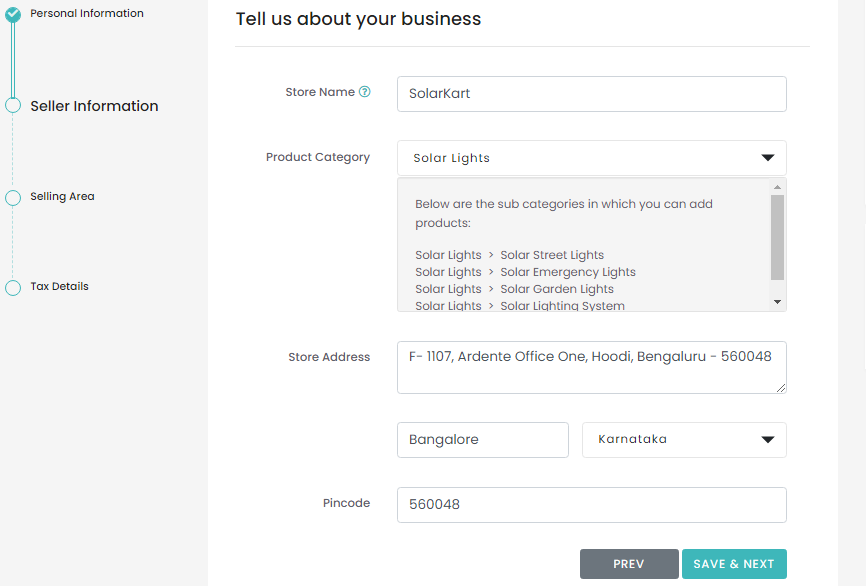
As soon as you complete your email id verification, you will be getting redirected to a page displayed below. You need to fill all the necessary details regarding your business, i.e., Store Name {for example, Solarkart}, Product Category {you have to select the parent category, under which you will see sub-categories, and in those subcategories, you can upload your products}, Store Address, Pincode, and click on “SAVE & NEXT”.
Step 4.
After you complete the above step (three), you will be seeing a page similar to the one displayed below. Enter your State, City and click on the button “NEXT”.
For instance, if you want to sell your products in three states (Uttar Pradesh, Maharashtra, and Karnataka) entirely, including each area of those cities then select only those mentioned states. But, if you want to sell your products in specific cities of the selected states, in that case, you have to select what exact cities of that particular state you want to sell your product; in UP, you may choose Kanpur, Lucknow, Ghaziabad. Similarly, in Karnataka, you may choose the cities like Bengaluru, Mysuru, Mangalore, etc.

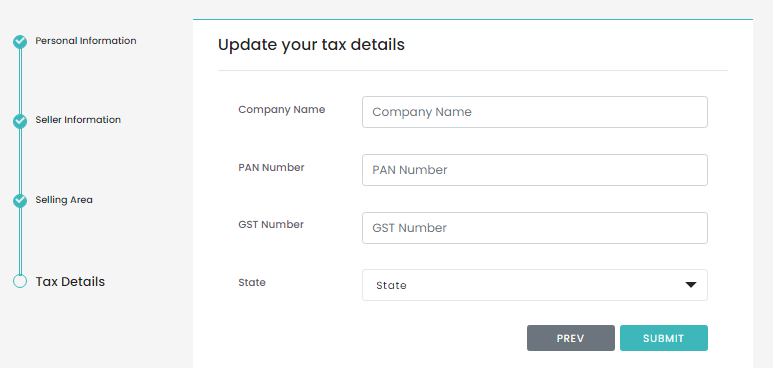
Step 5.
After that, you have to enter the required details such as Company Name, PAN Number, GST Number, and State. Click on “SUBMIT”.
Step 6.
In the last step (six), you will be getting redirected to the SolarClue Dashboard page, where you can fill in the required details and start selling your products.